
In this tutorial I am going to show you how you can add and access your Webmail Emails also send emails using Gmail.
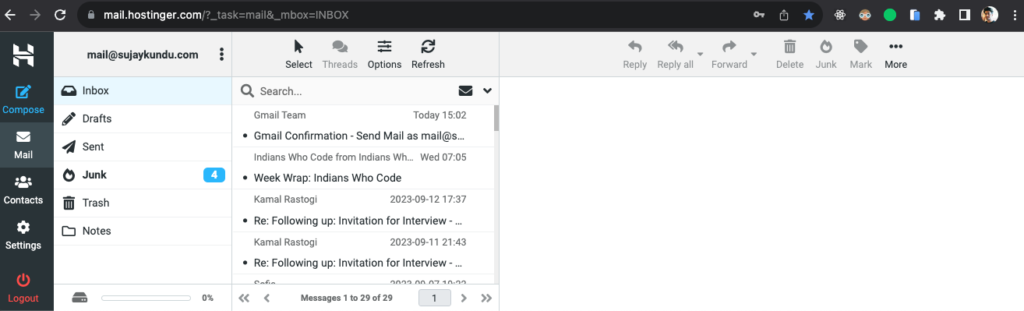
This guide follows Hostinger Email Mailboxes powered by Roundcube Webmails, which looks something like this :
But sometimes, people won’t be able to follow the new interface everytime, They would be like – I don’t like the interface, or i don’t want to use it Gmail is better !
In that case ! worry not 🙂
Adding the webmail email to your Gmail Account
Follow the below steps to connect your Mailboxes in your Gmail account.
1. Get the configuration settings (Prerequisites):
For starting before setup, you will need your email access and configuration setting. For eg, I have logged in to Hostinger and my email has a configuration setting, which looks something like this :

2. Login to your Gmail Account, where you want to add the mailboxes :
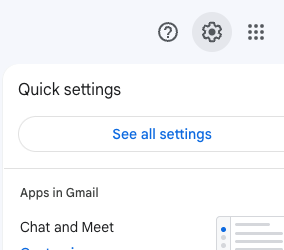
Click your settings gear
2. Click Accounts and Import Tab
Find the section : Check email from other accounts:

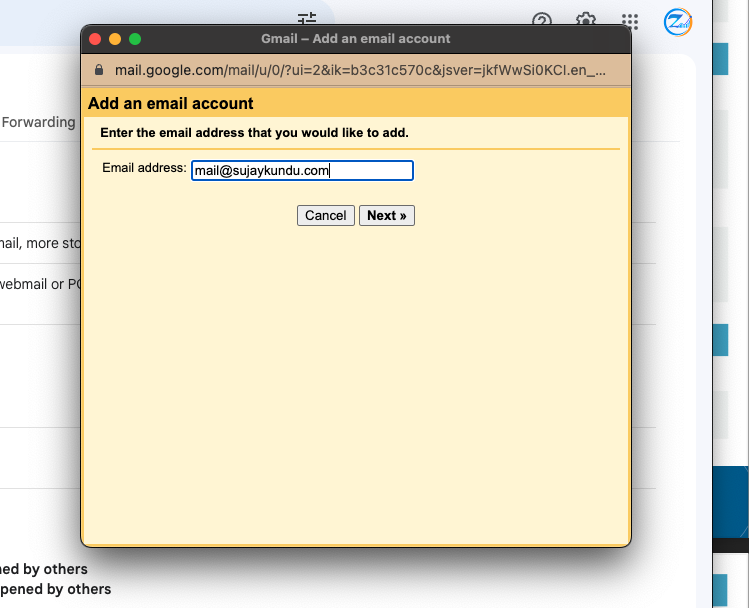
3. Click on Add an Email Account
Enter your email address you want to connect, for eg. In my case I want to manage mail@sujaykundu.com from my other Gmail account. And Hit Next
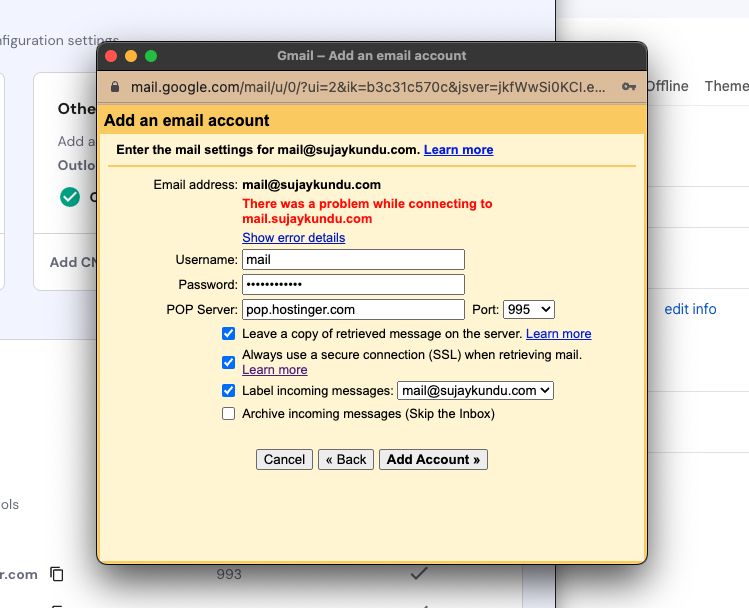
4. Type the POP configuration of your Email Provider, As I am using hostinger :
You need to add the following details :
Username : mail@sujaykundu.com (Your email address that you want to add)
Password – <your email password goes here>
POP Server: pop.hostinger.com (for Hostinger)
Port : 995
Enter the email details correctly and Hit Add Account
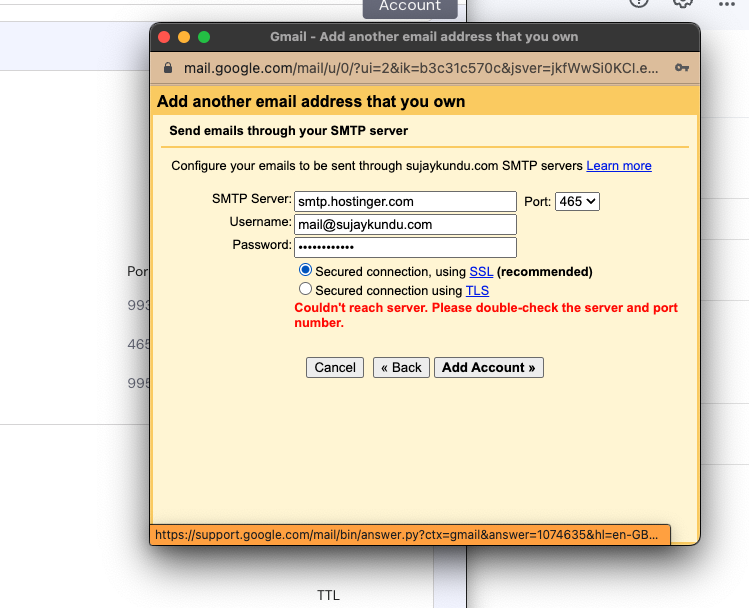
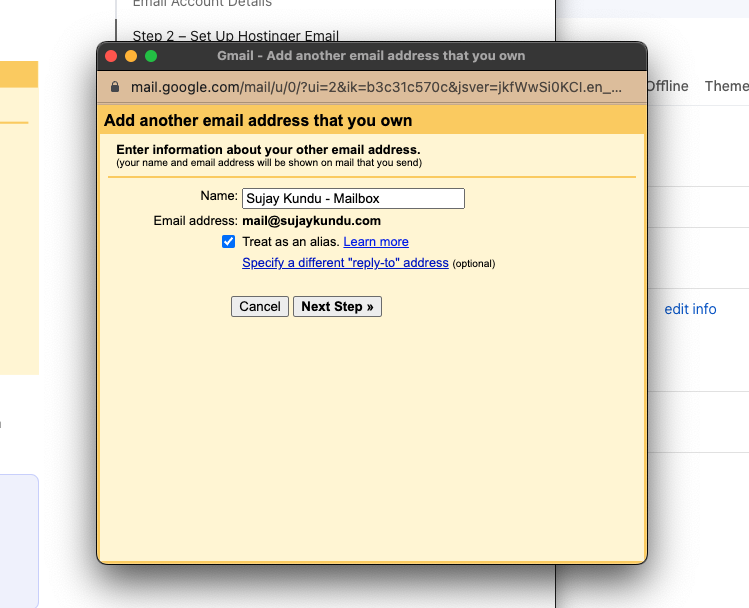
5. Setup SMTP Configuration (to send Emails)
In the next screen it will ask to add the Sending Email Configuration (SMTP Server configuration) – this is for when you want to send emails from GMAIL using the email you want to add.
For Hostinger :
This is the configuration :
SMTP Server: smtp.hostinger.com
Username: mail@sujaykundu.com (Add your email address here)
Password : Your Email Password
Secured Connection : Using SSL (recommended)
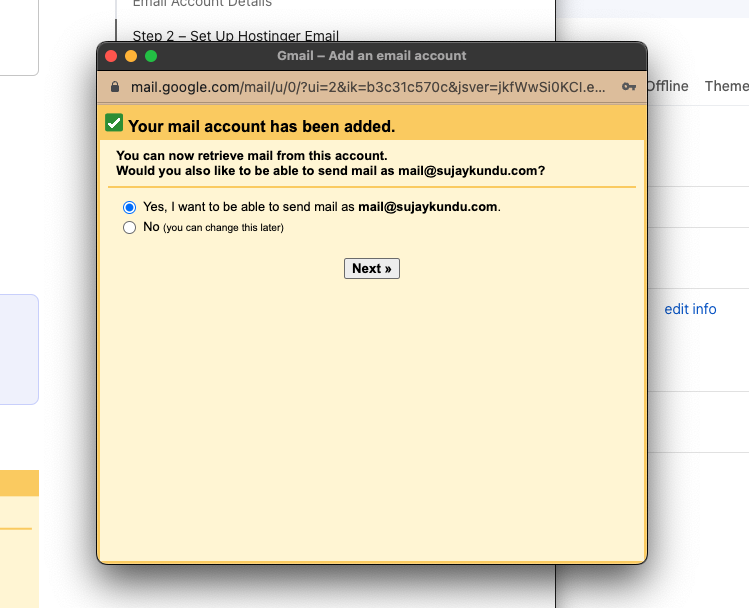
Done, You should be able to manage your emails from here !
5. Confirm Action
Google will send a verification code to your email account, add that and you are good to go !!
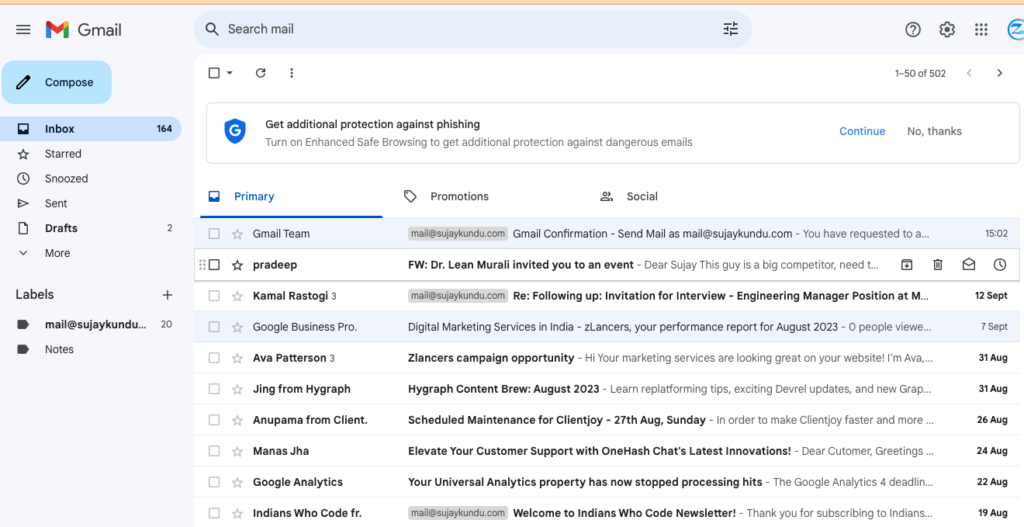
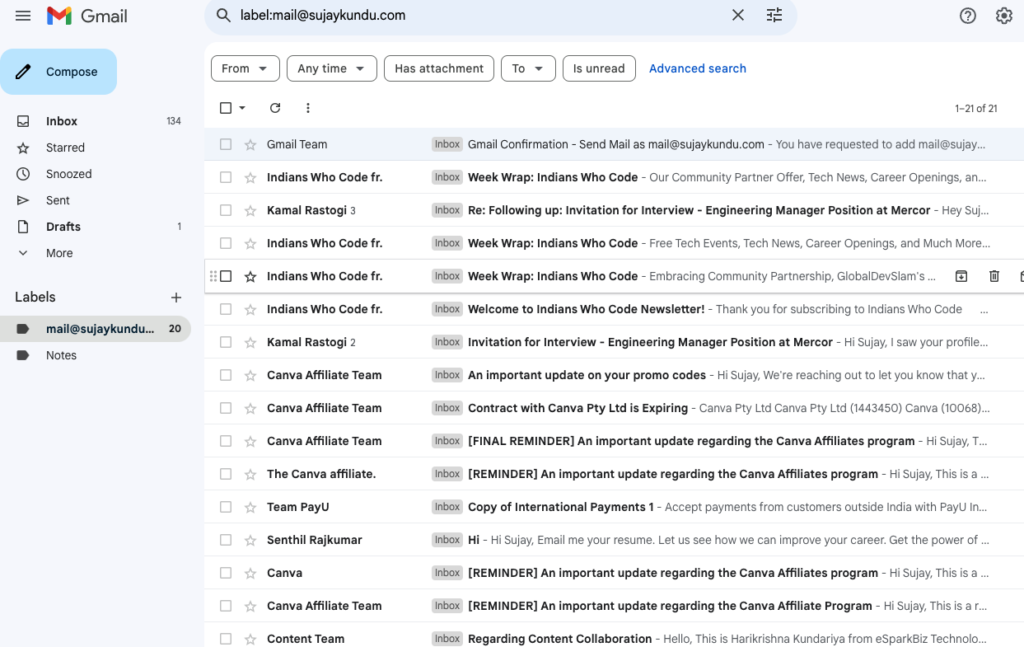
Once added, you can now see a new mailbox added under labels section in your Gmail account Sidebar.
Whenever you will get a new email, it will sync with it also you can send emails with the new setup using both the Email Ids .
The emails can be differentiated via the labels :
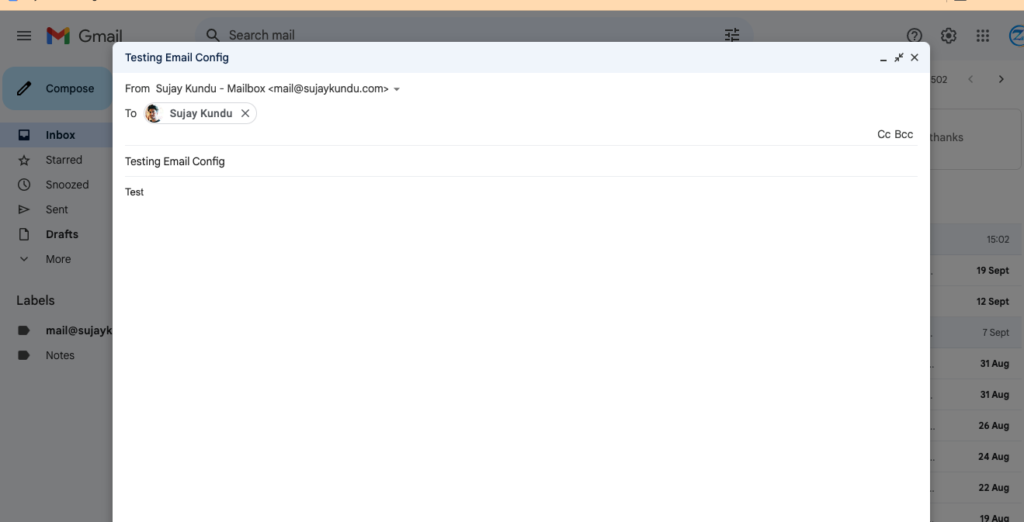
6. Test your Email
Send an Email from your connected account to any gmail account you own, just to test.
It’s important that you test your emails properly by sending an email to another account.
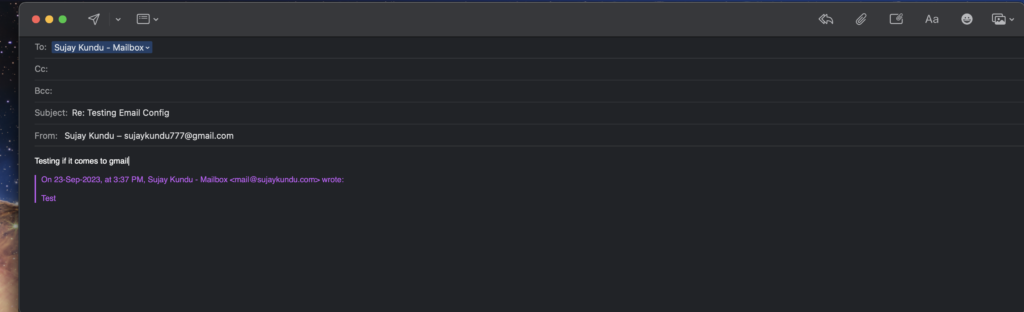
If it works, you will receive a new email. You can add multiple mailboxes in Gmail like this.
Well, I received the email in my other email 🙂 ! It works
Send it back, to check where it lands !!
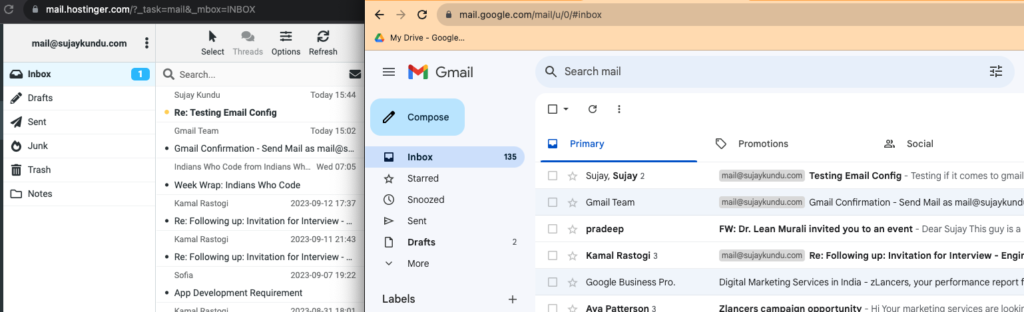
It should land in both your webmail and Gmail, as Gmail should be able to sync it.
As You can see, I received both the emails both in mailbox and in our newly connected account in Gmail.
There is a Gmailify feature available for Outlook and other services. Do check it out too https://blog.google/products/gmail/gmailify-best-of-gmail-without-gmail/
